
So a very dear friend of mine has recently decided to start ninja training and I thought it was only appropriate that he had his own ninja headband. This how-to probably only will appeal to a small audience, but it could definitely be a fun costume for Halloween (which is only 47 days away... but who's counting?)
You will need three coordinating fabrics- I found the sweet Asian writing print at Hobby Lobby... I estimated the size of his head to be about 24" around, so my pieces are as follows:
Asian print: (2) 3.5" x 24" and (2) 3.5" x 24" pieces
Red fabric: (2) 3.5" x 24" pieces
Gold satin: (2) 1"x24" pieces
*NOTE* I embroidered his ninja name on a red block, but you could do iron-on letters if you don't have access to an embroidery machine.
*NOTE* I embroidered his ninja name on a red block, but you could do iron-on letters if you don't have access to an embroidery machine.

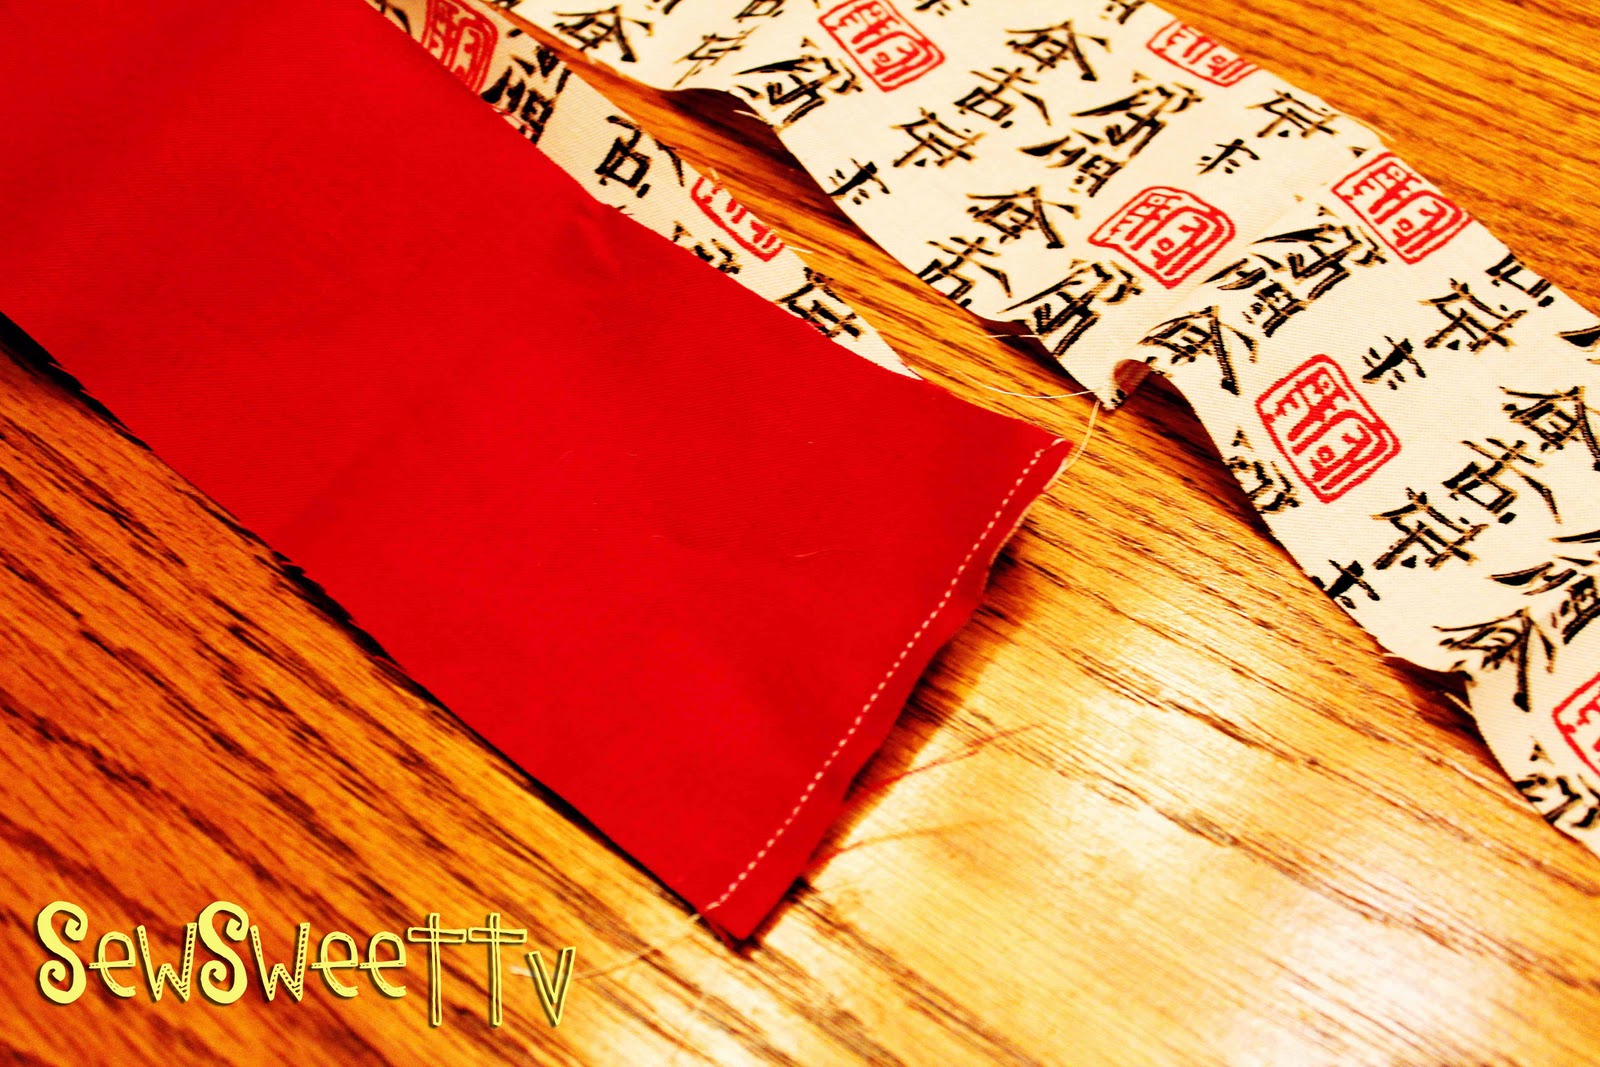
Next, I pieced the front together (red strip, Asian strip, red strip) and the back which was three Asian strips together. Put right sides together at the ends and sew a straight stitch along the edge.
Next, I took the gold satin and folded over the very end about 1/4", pinned and pressed to make a crease. The edge was sewn with a straight stitch. Then the entire strip was folded in half length wise and pressed to make a crease.

Now, layer the front and back pieces right side together and pin. I wanted the center piece to have a bit more detail, so I added the gold strip by matching up the unfinished edges of the front piece, satin and back piece. Pin in place.

Starting at one end, sew all around the edges, leaving a small gap to flip your bandana right side out. I ended up using a 3/4" seam allowance for the two end pieces so that the bandana would tie easier with less fabric. (the excess fabric was trimmed off)
When I got to the corners, I tapered the ends of the bandana to a point for added detail.
When I got to the corners, I tapered the ends of the bandana to a point for added detail.

Once flipped right side out, check to be sure that all your seams are complete. Then, complete your last seam by folding over the unfinished opening to match the other side. Sew all around the edge to give it a finished look.

Here it is all put together!

Sew. Sweet.
0 comments:
Post a Comment