I don't know where time is going these days, but it is FLYING by. I CANNOT believe that it's already October! I've had the idea for this top for a while and was going to make it for my sweet girl to enjoy during the summer, but it just didn't happen. When fall pictures at her school (daycare - I call it school to make myself feel better about leaving her all day) rolled around I jumped finally quit procrastinating. *Not to self: Staring a project the night before you need it done, is never a good idea...) Since we live in Texas, it will still be warm for a while(it was 100 degrees on the day of her pictures)...And when it cools down, we can throw a long sleeved shirt on under it and it will still be way cute!
Hope you enjoy this tutorial! We would love to see some of the ones you make, so please email us a pictures or leave us a comment with a link to a picture of it! And if you have any questions, don't hesitate to ask!
For this shirt or dress you will need:
The Pattern
4 Fat Quarter pieces of fabric (I used 2 coordinating patterns)
Coordinating thread of each of your fabrics
And the basics: Sewing machine, scissors, pins, iron & ironing board
This one is a shirt, but to make it a dress, simply make it longer and maybe a bit wider by increasing the distance between the arm hole and the middle of the shirt edge of the pattern!
First, you will need to download the pattern. We are still trying to figure out how to link the download to the blog, so for now you will have to download it from our twitter page Here. Feel free to become a follower while you're there... :)
To get started, cut out all your pattern pieces. The pattern is drawn to be cut on a fold, with the straight edge of the shirt/dress on the fold and the middle of the square collar on the fold. To make sure you can get all your pieces from the fat quarters, fold it in half length wise and cut out the shirt/dress and the collar on that fold. The pieces on the outside will be used for the ruffle and the ties.
You will need a collar piece in each fabric (2 total) and 2 shirt pieces in each fabric (front & back for each - 4 total). You will also need a 2 - 22"X3" rectangles from each fabric for the ruffle and 2 - 15"X2.5" pieces for the ties.
We are going to call the purple fabric Side1 and the red fabric Side 2. Since the top is reversible, both sides will be seen. In order to make the top-stitching that we are going to do blend well on both sides, we are going to do most of the sewing with thread that matches Side 1 (for me its dark purple thread) in the top of the sewing machine and thread that matches Side 2 (red) on the bobbin. So for most of the project, you will sew with Side 1 facing up.
Once you have the pattern cut out, we are going to start with the collar. Lay the collar right sides together...
And with a 1/4" seam allowance sew all the way around the inside square, making a 90 degree turn at each corner. (The thread colors don't matter for this seam because it will be hidden)
Cut a small slit in each corner so that it will lay flat when turned right side out. DON'T cut through your seam!
Turn your collar right side out, iron flat and top stitch with a 1/4" seam allowance all the way around the seam on the inside square of the collar. This is where the thread colors start to matter - do your top stitching with Thread 1 in the top and Thread 2 on the bobbin and sew with Side 1 facing up.
Now we are going to set the collar aside and work on the shirt/dress part. With right sides of your front and back pieces together for the Side 1 fabric, use a zig-zag stitch to sew the side seams. The raw edges of these seams will be hidden, so there is no need to make a nicer finish to it. Again, the thread color doesn't matter here because it will be hidden.
Once the side seams are sewn, iron the seam flat to one side. Repeat for the front and back pieces of the fabric for Side 2.
Now that both of the shirt/dress pieces for Side 1 and Side 2 are put together, turn Side 1 right side out. Slip Side 2 (still wrong side out) inside of Side 1 and line up the seams.
With the seams lined up, start at the top of the shirt/dress and top-stitch 2 parallel lines along the seam. Stop your top-stitching about 3/4" from the bottom of your shirt/dress. You will need to fold under the hem line later on, so the two layers will need to be separate. This will keep the two layers (Side 1 and Side 2 from moving around. Make sure that you top stitch with Side 1 up with Thread 1 in the top and Thread 2 on the bobbin.)
The next step is to finish the arm holes. I wanted Side 2 to show on Side 1 at the arm holes, so I finished them by creating a double fold - As we did for the Africa Dress - with Side 1 facing outward. For this step, I changed the Thread in the top of the machine to Thread 2 (same one that's in the bobbin) so that it would all match.
Now that you have Side 1 and Side 2 sewn together and the arm holes finished, we are going to add the collar to the top. Iron the outside of the collar under about 1/2" on all sides for both layers. At the corners you will have to play with the fabric a bit to get all the raw edges hidden.
Next, with the top of the shirt/dress in between the two layers of the collar, line up the center of the collar with the center of the top of the shirt/dress.
Then line up the edges of the arm holes with the edges of the collar and pin whats left in the middle to create a few little ruffles.
Now top stitch all the way around the collar with a 1/8"-1/4" seam allowance, making a 90 degree turn at the corners. On this step you will have to be careful that you are getting both layers of the collar. Make sure that the edges of the collar line up well on either side of the shirt/dress. Be sure to change the thread in the top back to Thread 1 and sew with Side 1 (of the collar) facing up.
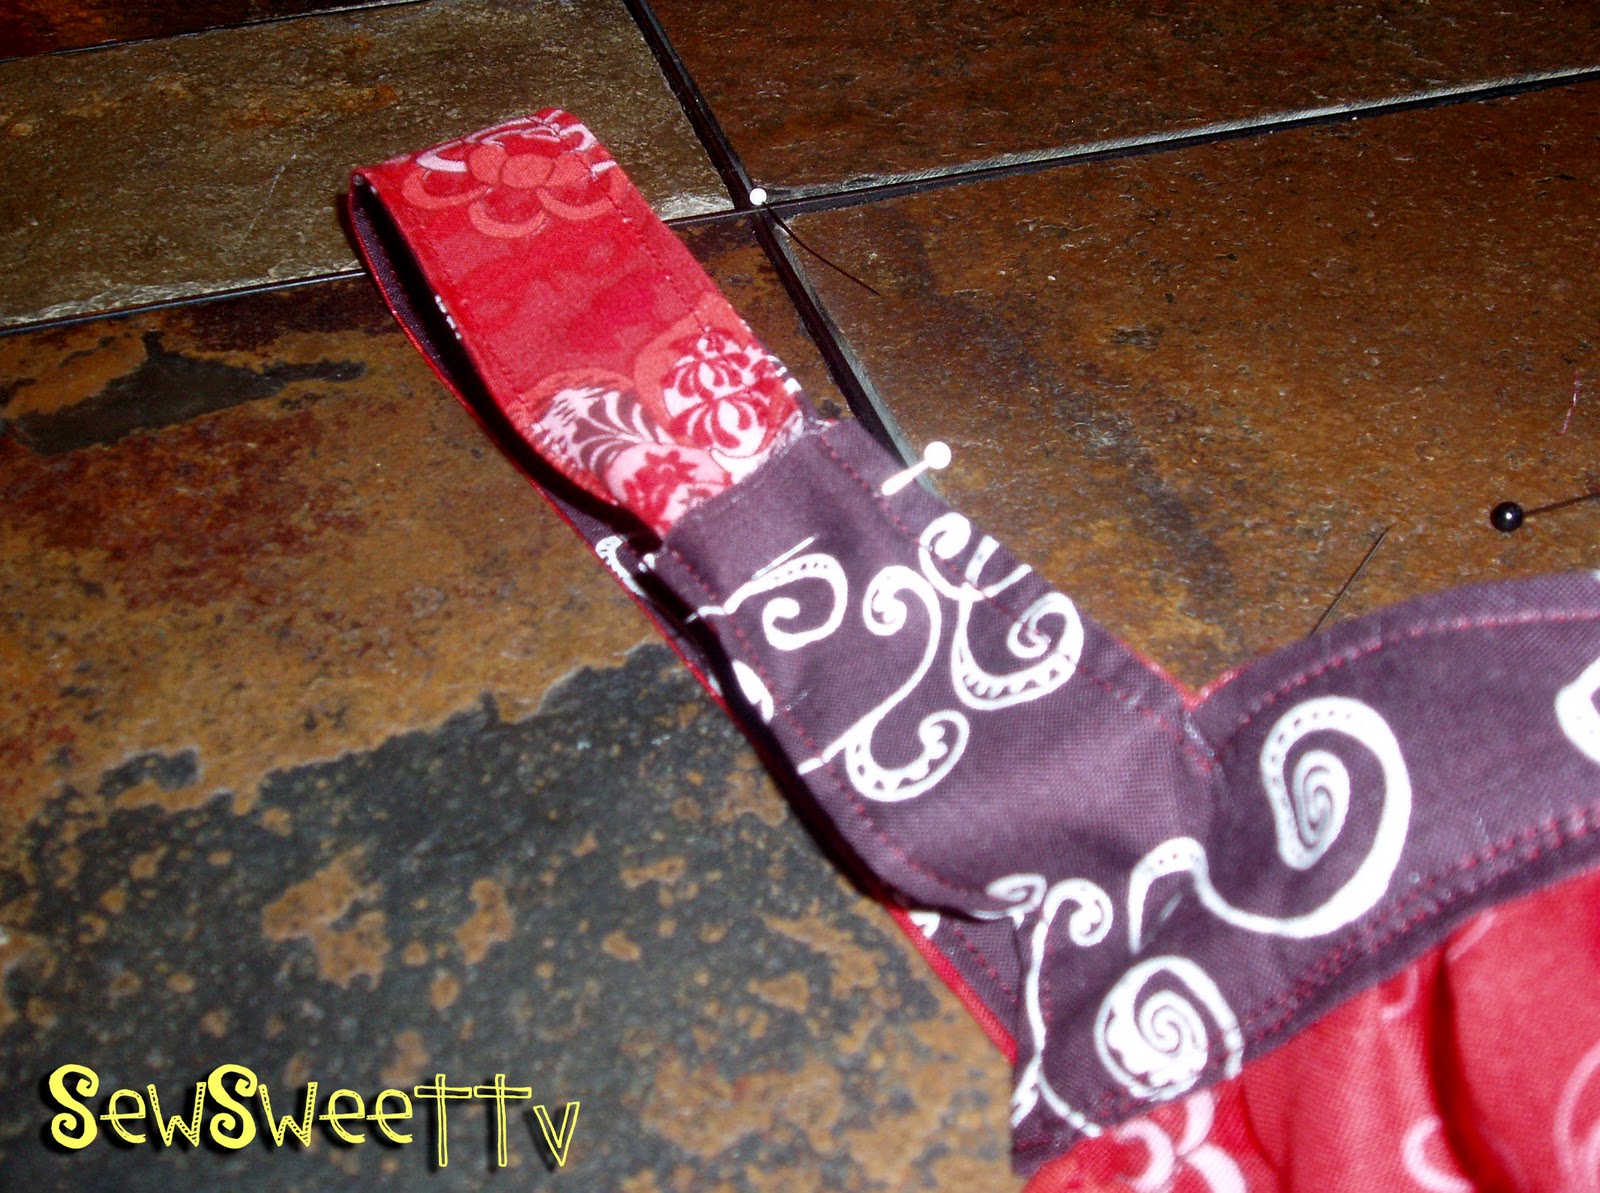
And on to the tie for the shoulder. Pick a side for the front and on one of the shoulders, cut the collar about 1.5" from the inside square.
Seam rip back about 1/2" on either side and fold the ends in.
To make the ties, I used two 15"X3" strips from both fabrics. At one end of the strips, iron the end over 1/2". Fold one side in about 1/2", fold the other side in about 1/2" then fold in half.
If you just want 1 fabric in the tie, go ahead and top-stitch all the way around the tie close to the edges. If you would like both fabrics, simply stack one of each then top-stitch them together.
Insert the unfinished edge of the tie into the collar where you have cut and folded in. Then, starting on one side where you finished seam ripping, sew it back together all the way around to the other side.
Repeat for the other tie.
All that's left is to finish up the bottom!
For the ruffle use 4 - 22"X3" strips (two of each fabric). With right sides together sew the ends of the strips from fabric 1 together to make a loop. Repeat for fabric 2.
Now with right sides of the loops together and the seams lined up, sew all the way around one side.
Flip right-side out and press flat. The finished edge will be the bottom of the ruffle.
On the shirt/dress iron the bottoms in about 1/2".
*Don't forget - the iron is your friend for this project!*
Now to attach the ruffle to the shirt/dress. There are several ways to do this. I simply lined up the seams of my ruffle with the seams of the shirt/dress with the unfinished edge of the ruffle between the 2 layers of the shirt/dress and pinned it so that it looked even all the way around. You could also use a basting stitch (created by hand or your machine) to ruffle the loop to the same circumference as the bottom of the shirt/dress before lining up the seams and pinning.
Now just top-stitch all the way around the bottom! (With Side 1 of the shirt/dress up) Again, Make sure that you are getting both layers of the shirt/dress - otherwise you will be seam ripping...NO FUN!
Now go put this adorable little top on your princess and enjoy!
Side 1
Side 2
Sew.Sweet.