
Do you have loose little papers in your car? Like gum wrappers, old coupons and scratch paper....? Here's a sweet little trash bag for your car.

You will need two coordinating fabrics and a piece of velcro about 6" long.
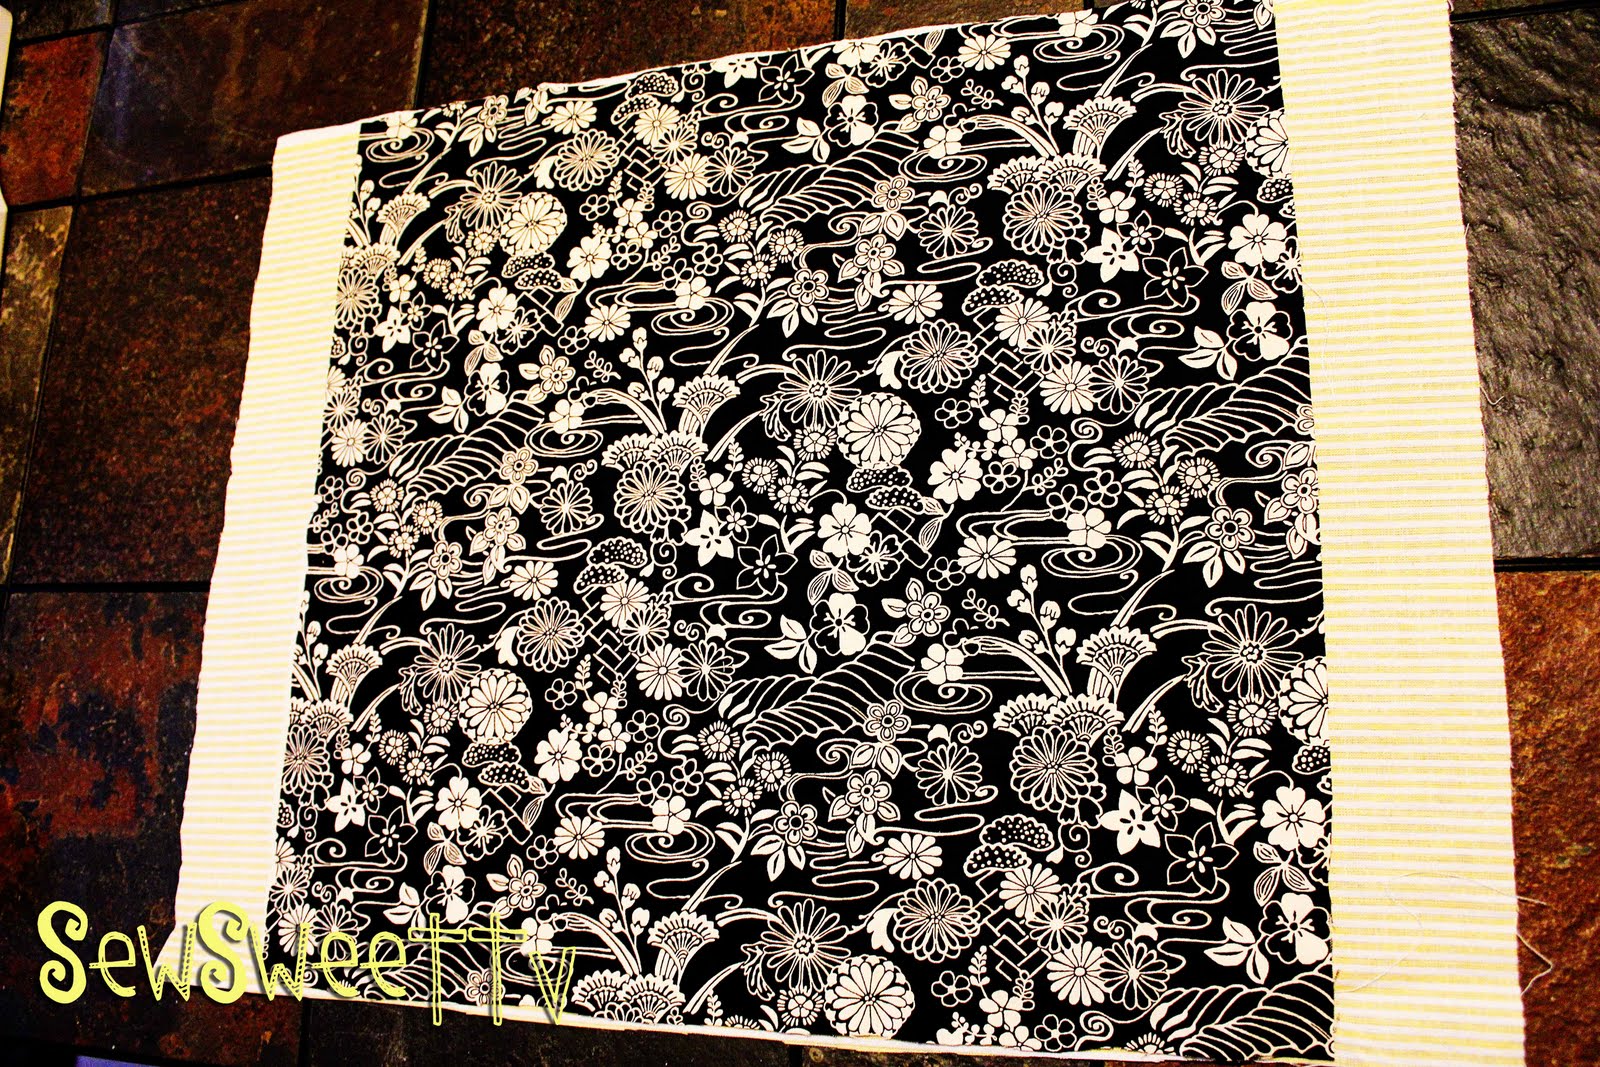
For my outer fabric, I used a piece that's 7.5" from the fold and 16" long.
For my outer fabric, I used a piece that's 7.5" from the fold and 16" long.

Then you need a piece for the lining that is 16" long and 4"wider (when centered, there should be 2" of lining on either side of the outside fabric. Lay them on top of each other, wrong sides together. Put a few pins in the fabric to hold the pieces together.
Now, flip both pieces over and pin your pieces of velcro on the lining, right next to the edge of the outer fabric. You can see through my lining below...

Be sure that your velcro is at least one inch from the edge of your fabric on both sides. Pin in place then sew along the edge of your velcro.

Now, flip over your bag and fold over the excess lining 1".

Fold over again to hide your unfinished edge and to show off the coordinating lining. It should be about an inch or so.

Pin in place and where you will be sewing.

If you flip it over, double check that the velcro should be close to the edge of the bag... and make sure you have it all lined up straight!

Sew close to the edge!

Repeat on the other end of the bag.

Cut a piece of elactic... I started with 11", but you will want some extra to determine how stretchy you want the top of the bag to be.

Put a safety pin on both sides of the elastic and begin to feed through the casing that you created on the opposite end of the bag from the velcro.

Put several stitches in the elastic that you fed through the casing.

It should look something like this... sewn on to the edge of the casing.

Now pull the other end of elastic through the casing and determine how much stretch you want at the top of the bag. Pin the elastic in place here.


Turn inside out and check out your bag.

Now we need to make some straps to attach it to the head rest on your car. Cut two pieces of fabric that are about 2" wide and 15" long.


Take the end of the strap and fold back on itself twice to hide the unfinished edge. Or, you can stuff the unfinished edge inside opening at the end and sew shut.

To attach your straps, you will seam rip a small part of your casing at the top part of the bag. Go over with the sewing machine with a couple reverse stitches. If you wanted to do this step earlier when you first made the casing, you are welcome to!

This little bag is pretty versatile, and would also make a great way to store your grocery sacks, too!
Sew. Sweet.
0 comments:
Post a Comment