Friday, January 27, 2012

Sweet Ruffle Tote

So one Sunday afternoon that Ali and I got together to sew I decided that my Addy Bug needed a new daycare bag.  And so we have the SewSweet version of the ruffle tote bag.  I'm pretty excited about the way it turned out...I mean, just look at all that ruffley goodness!!


Check out the How To!  And I hope you'll stop by next week for our FIRST GIVE AWAY!!

Enjoy!

Friday, January 20, 2012

Lion WashCloth Puppet

Hey y'all!! It's bath time :) Little Addy was our quality control expert on this little project... A lion wash cloth puppet!
How fun! 
 

Here's the pre-bath final product:


 So how do you get started? Here are the pieces that you'll need...

And a pattern just for you! We took all the science out of it. Now you can just get to sewing. Be sure to check out our video :)

Saturday, January 14, 2012

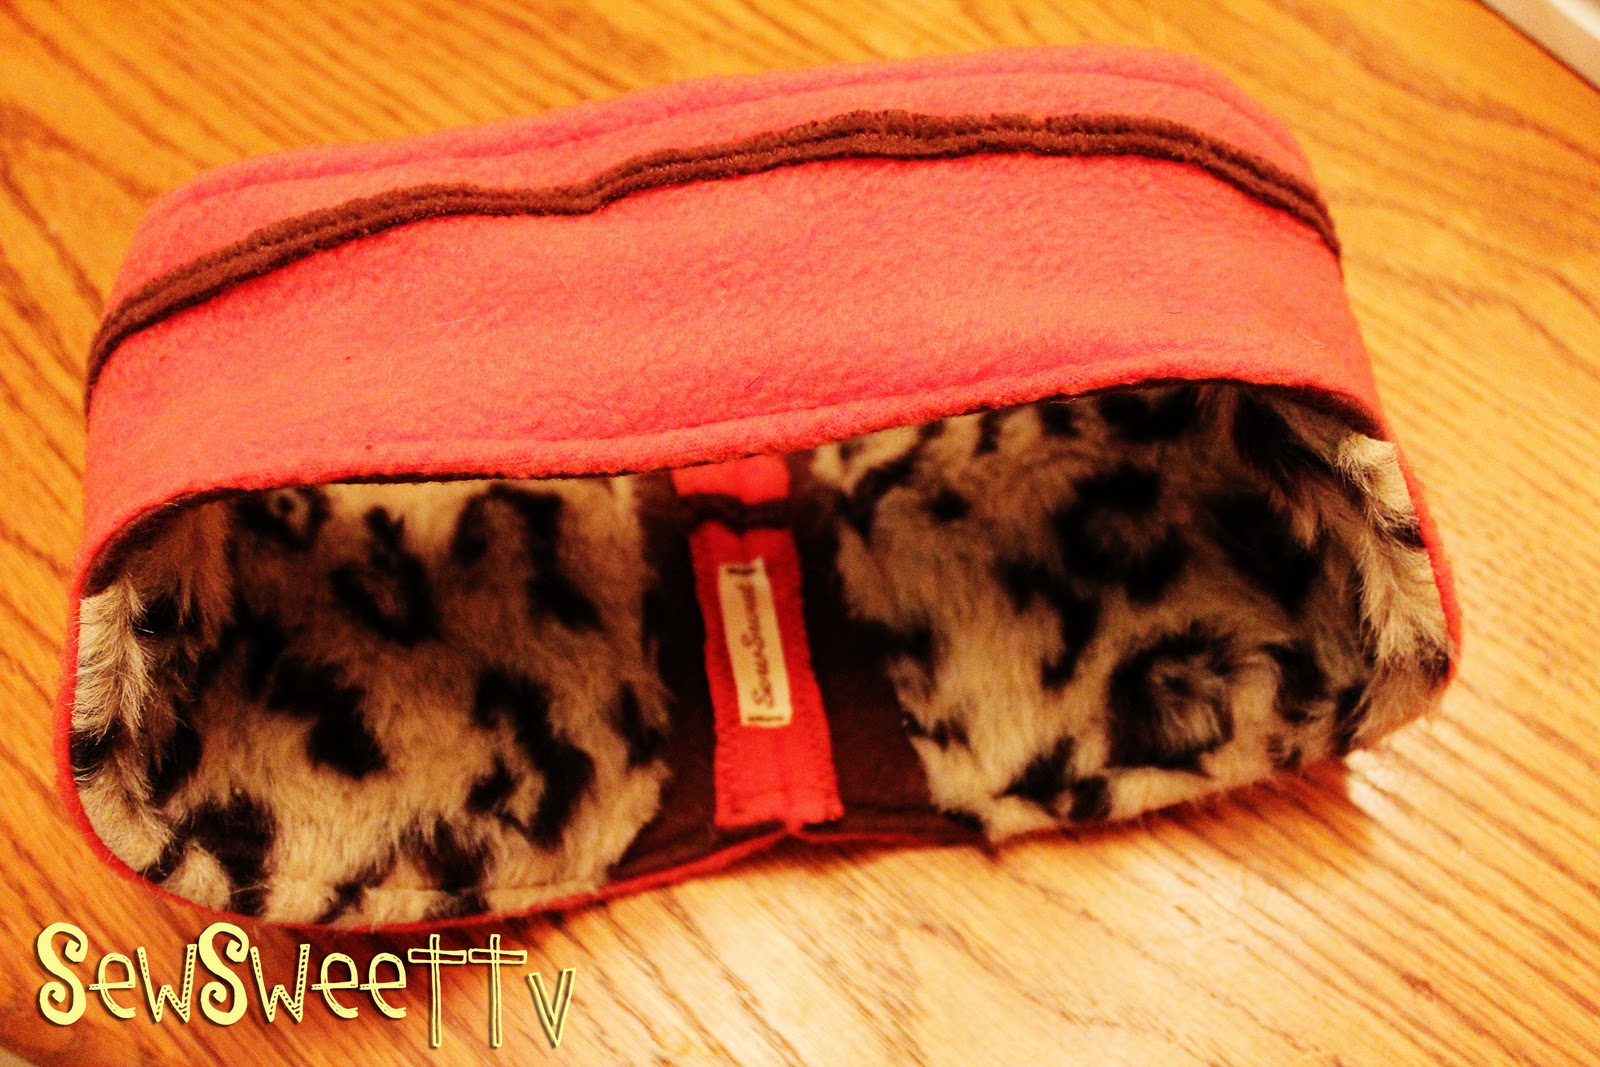
Furry Fleeceband How To!

It feels so good to back  :) After a long break... We are ready to hit the craft room. One of my "better late than never" Christmas presents was a fleeceband for my dear friend who moved up the northeast.... (too cold for this Texas girl).

Here's a simple little project for 30 minutes or less...

What you need:
Two coordinating fleece fabrics
Faux fur

Let's get started! Fold your first piece of fleece fabric so that you have 11" in the stretchy direction. (You'll notice that one way the fabric is stretchy, and the other way it's not...) Cut out a rectangle that's 11" x 5" and then trim away the bottom edge to make a curve for your ears. The part where the fold is where your forehead is... so you don't want it too thick!


Cut out a coordinating piece of fleece 

(remember the stretch in the long direction!)


Open up your lining fleece and sew on two furry ear patches. I just laid my fleece over the fur and estimated. It's the inside... so no one will really see the details. Stitch the fur to the fleece right near the edge.


 NOTE: Fur is very difficult to sew "against the hair" so you may need to sew this piece on with two directions of stitches.


I happened to have access to an embroidery machine, but this isn't necessary! I did add a little strip of coordinating fleece to the front and attached it with a zig-zag stitch. The beautiful thing about fleece is that you don't really need to worry about the unfinished edge!


Now, put the right sides together and stitch a seam at the top and bottom of the fleece band, leaving the ends open.


Turn that baby inside out!


I pinned the edges flat so I could evenly put the finishing stitch
(1/4" from the edge) on the top and bottom. 


Now, with the lining out, pin the edges to see how it fits... Take a little more or a little less so it fits just right. Then do a couple reinforcing stitches and trim the excess fabric, leaving about 1/2" selvage.


Using your zig zag stitch, sew the edges of the selvage to give it a little extra stability and a finished look.


With a straight stitch, I secured down the edges by sewing along the seam
I had already created.


There you have it! A sweet, furry fleece band in no time!
Stay warm!


Sew. Sweet.

Thursday, January 12, 2012

We're Bacccckkkkk! Applique Pillow Tutorial

Anddd...We're Back!  Sorry for our insanely long leave of absence.  The fall seemed to fly by and for some reason we just couldn't stay caught up with it!  It was full of school and studying for Alison and full of sickness after sickness in my family - oh, and watching the hubby study.  We did squeeze in a few sewing nights here and there, but they always seemed to be rushed and full of frantically trying to get things done at the last minute!  But now we are finally catching up with LIFE and are excited to share some new projects!

But first, here is some of the fun stuff we did while we were away...


Halloween Costumes!

The BabyKid was a PEACOCK for her first Halloween! 


And the always crafty Alison painted the town of Nashville, TN as Sonic and Tails with her sweet sweet boyfriend, Brett!  I'm pretty sure they had the best costumes in the city.

Next came Adalyn Faith's first birthday outfit!  I CANNOT believe my baby is already ONE! (well, actually 14 months now, she was 1 in November) It has been such an amazing year watching this little girl grow!

This was the first petti-skirt I made.  Besides the HUGE mistake of choosing a regular chiffon fabric instead of the nifty pre-cut, non-fray type, this was a fun project! I see many more in the future..I just LOVE all the ruffles!

After birthday came Christmas, and of course it required some handmade gifts.  One of my favorites were the guitar pillows that I made for my ADORABLE nephews!

After Christmas, Ali and I had some fun making this ridiculousness...

CROCHETED BEARDS!!  For all the boys on ski trip!  They got a huge kick out of them!

And lastly, some fabulous ski hats that Ali made for her and Brett.  They definitely hit the slopes in style!

Ok, ok...Now onto the good stuff!

My sweet cousin and one of my closest friends, Lindsey, just had her second child.  A PRECIOUS baby girl named Mackenzie Elizabeth.  Little Mackenzine decided to make her debut early, so I whipped out this little pillow over the weekend to send to her!  It's so fun to customize stuff with appliques and I just love this sweet little pillow! 


Check out the video for the how to!

Tuesday, October 18, 2011

Margarita Shortcakes!

For a dear friend's BDAY, we made some sweet margarita themed strawberry and red velvet shortcakes!

Our party was at a restaurant, so instead of pre-assembling all of the shortcakes, we made one for a sample and brought all of the fixins to make at the table.

MARGARITA SHORTCAKES
You will need:

one large box of strawberries (chopped)
3 limes (sliced)
cake - cooled and crumbled (we used red velvet)
a large tube of cool whip
red sugar sprinkles
disposable margarita glasses

(yield 24 short cakes)


 First, bake your cake and put the cooled crumbles into the bottom of a margarita glass.


Add a generous layer of chopped strawberries.


Smooth over the top with a large scoop of Cool Whip.


Add chopped strawberries to the top and red sugar sprinkles around the edge.
 Use a lime slice to jazz up the glass and ta da!! 


Repeat to make the rest of your margarita shortcakes, or pack up your ingredients for short cake on the go. I only made 12 shortcakes this go 'round so I used the left overs for cake balls... YUM!


Sew. Sweet.

Monday, October 17, 2011

Chocolate Crispie Balls!

Here's an alternative to cake balls that's equally as fun (but takes half the time). This tasty treat is an old favorite in a new light... and we made for a birthday party!

Chocolate Crispie Balls!

You will need:
a box of Crispie cereal (5 cups)
one bag of marshmellows (4 cups)
one package of chocolate coating
Butter (4 tbsp + 2 tbsp)
waxed paper


Start by melting the butter in a large saucepan.


Stir in your 4 cups of marshmellows and continue until they are uniformly melted over medium heat.


Add in your crispie cereal, one cup at a time, and mix until completely coated.
 Reduce heat to low.


*VERY IMPORTANT STEP* The crispies will be hot so make sure you coat your hands with butter. We took a 2 tbsp slice and used it periodically to coat our hands. This will help protect you from the heat and keep the crispies from sticking to you.


Make ping-pong ball sized crispie treats by rolling in your hands.


Set aside to cool and harden on wax paper.


YUM! Once they are a little cool, you can reshape as necessary to make round balls.


Melt your chocolate as per the package directions.


Roll each ball individually in the chocolate and set on the wax paper.


Add sprinkles on a few if you'd like!! You could also easily make these into Crispie Pops by adding a stick when you first assembled the crispies into balls.


SewSweet.

Sunday, October 9, 2011

Two Compartment MakeUp Bag


With inspiration from my current (and FAVORITE) makeup bag (which is long over-due for replacement), we put together this cute, quilted, 2 compartment one!  You can check out the video tutorial here! The bag providing the inspiration had clear plastic on the inside, but we couldn't find a nice weight plastic that wasn't cloudy.  I was a little disappointed because its such a nice feature to be able to see what's in the bag, but it still turned out way cute!  And as it turns out, today while I was cleaning out the closets I found what would have been the perfect plastic! I had saved an old bag that a comforter set came in... I'll have to remember that for when I get around to making another one.  We lined the inside of the 2 compartments with plastic (a cloudy not so pretty plastic - but it worked well for the lining) for easy cleaning and added a little strap to keep it closed!   Alison also embroidered it for our friend Kristen!

(Ali, KB & Mere)

Today is Kristen's Birthday! So we put together a matching set with this bag and a  2-in-1 Flat Iron/Curling Iron Tote! This set was easy to make and the perfect gift for a girl on the go! Matching sets are so fun and always make you feel "put together" and KB is the matchy matchy QUEEN, so we hope she enjoys her little gift!  It was a busy weekend of fun with this Birthday Girl and we are so glad we got to celebrate with her!  Happy Birthday KB, We love you!